
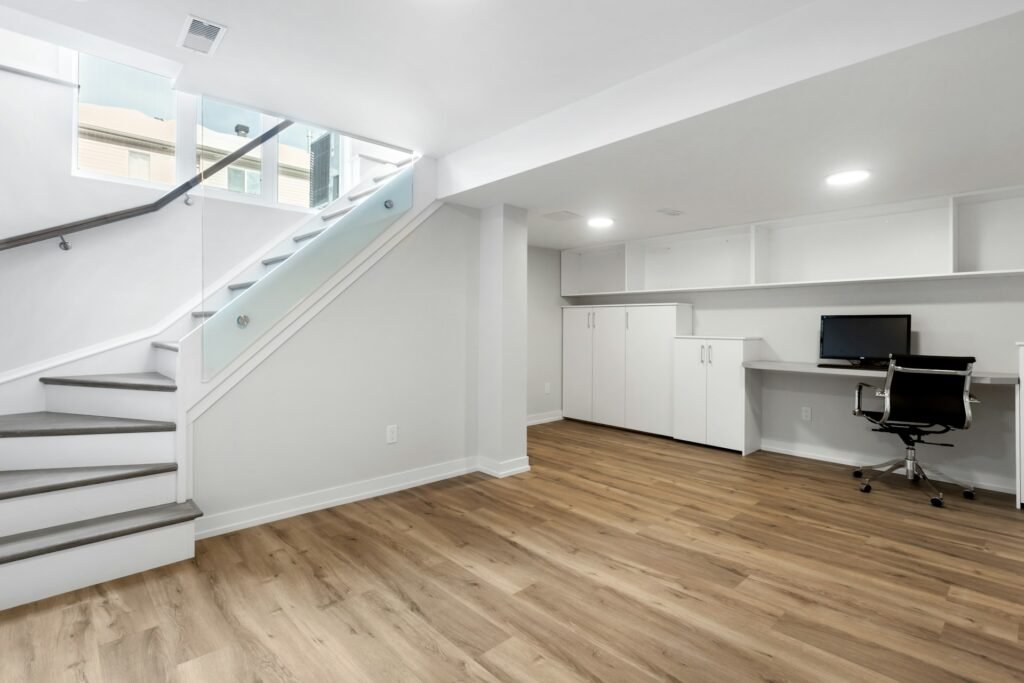
Updating a basement can turn an underused area into a comfortable and useful part of your home. Whether you want a family room, home office, entertainment area, or guest space, a basement renovation should begin with planning and basic repairs before decorative upgrades.
Following a step-by-step process can help you avoid unnecessary costs and create a finished basement that works for your needs.
Step 1: Decide How You Will Use the Basement
Start by identifying the main purpose of the space. Your plans will affect the layout, lighting, flooring, storage, and electrical requirements.
Common basement uses include:
- Family rooms
- Home offices
- Guest bedrooms
- Playrooms
- Home gyms
- Entertainment spaces
- Hobby rooms
If the basement will serve multiple purposes, divide it into practical zones instead of creating one large, undefined area.
Step 2: Inspect for Moisture and Water Problems
Before making cosmetic improvements, check the basement carefully for moisture, leaks, damp smells, mold, or water damage.
Look around walls, floors, windows, pipes, and other areas where water could enter. A moisture problem should be addressed before installing new flooring, drywall, or furniture.
If you discover a serious leak or structural issue, consider getting professional help before continuing with the renovation.
Step 3: Check the Electrical and Plumbing Systems
Basement renovations may require additional outlets, lighting, plumbing, or other utility changes.
Plan electrical locations before closing walls or installing finished surfaces. If you are adding a bathroom, kitchenette, laundry area, or other plumbing feature, determine the requirements early in the project.
Electrical and plumbing work can involve safety and code requirements, so professional assistance may be appropriate.
Step 4: Plan the Layout
Measure the basement and create a basic floor plan. Think about where furniture will go, how people will move through the room, and where doors, stairs, windows, and utility equipment are located.
Do not forget to maintain access to essential equipment such as electrical panels, water heaters, furnaces, and shutoff valves.
A good layout should balance comfort, storage, and accessibility.
Step 5: Improve Insulation and Comfort
Basements can sometimes feel cold or damp compared with the rest of the house. Depending on the construction of your basement, improving insulation and addressing air leakage can make the space more comfortable.
The appropriate insulation method depends on the wall construction and local building requirements. Check applicable codes and consider professional advice when necessary.
Step 6: Choose Basement-Friendly Flooring
Flooring should be selected based on the basement’s moisture conditions and intended use.
Options may include vinyl flooring, tile, or other materials designed for areas where moisture could be a concern. Avoid choosing flooring based only on appearance.
Think about durability, maintenance, comfort, and the condition of the existing floor.
Step 7: Update the Walls and Ceiling
Once moisture and utility issues are addressed, you can move on to finished surfaces.
A light wall color can help make a basement feel more open. Depending on the ceiling height and layout, you may choose a finished ceiling, painted ceiling, or another practical solution.
Keep access panels available where maintenance may be required.
Step 8: Improve Lighting
Many basements have limited natural light, making artificial lighting especially important.
Use several layers of lighting rather than relying on one ceiling fixture. Recessed lighting, wall fixtures, table lamps, and floor lamps can help create a brighter and more comfortable environment.
Mirrors and lighter finishes can also help reflect available light.
Step 9: Add Storage
Make the most of your basement by incorporating practical storage. Built-in shelves, cabinets, baskets, and storage furniture can keep the room organized.
Use awkward corners for storage when possible, but avoid blocking important utility areas.
Step 10: Furnish and Decorate
After the major renovation work is complete, bring in furniture that matches the room’s purpose.
Choose pieces that are appropriately sized for the basement. A large sectional may work well in an entertainment room, while a compact desk and shelving may be better for a home office.
Finish the space with rugs, artwork, cushions, curtains, and other accessories.
Final Basement Renovation Checklist
Before considering the project finished, check:
- Moisture problems have been addressed.
- Electrical and plumbing work is complete.
- The layout is functional.
- Flooring suits the environment.
- Walls and ceiling are finished appropriately.
- Lighting is sufficient.
- Storage is available.
- Utility equipment remains accessible.
- The room is comfortable and uncluttered.
Final Thoughts
A basement renovation is easier when you approach it in the right order. Start with moisture, safety, utilities, and layout before spending money on decorative finishes.
By planning carefully and choosing durable materials, you can transform an ordinary basement into a comfortable, functional extension of your home.