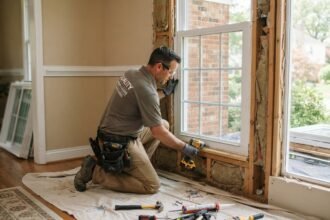
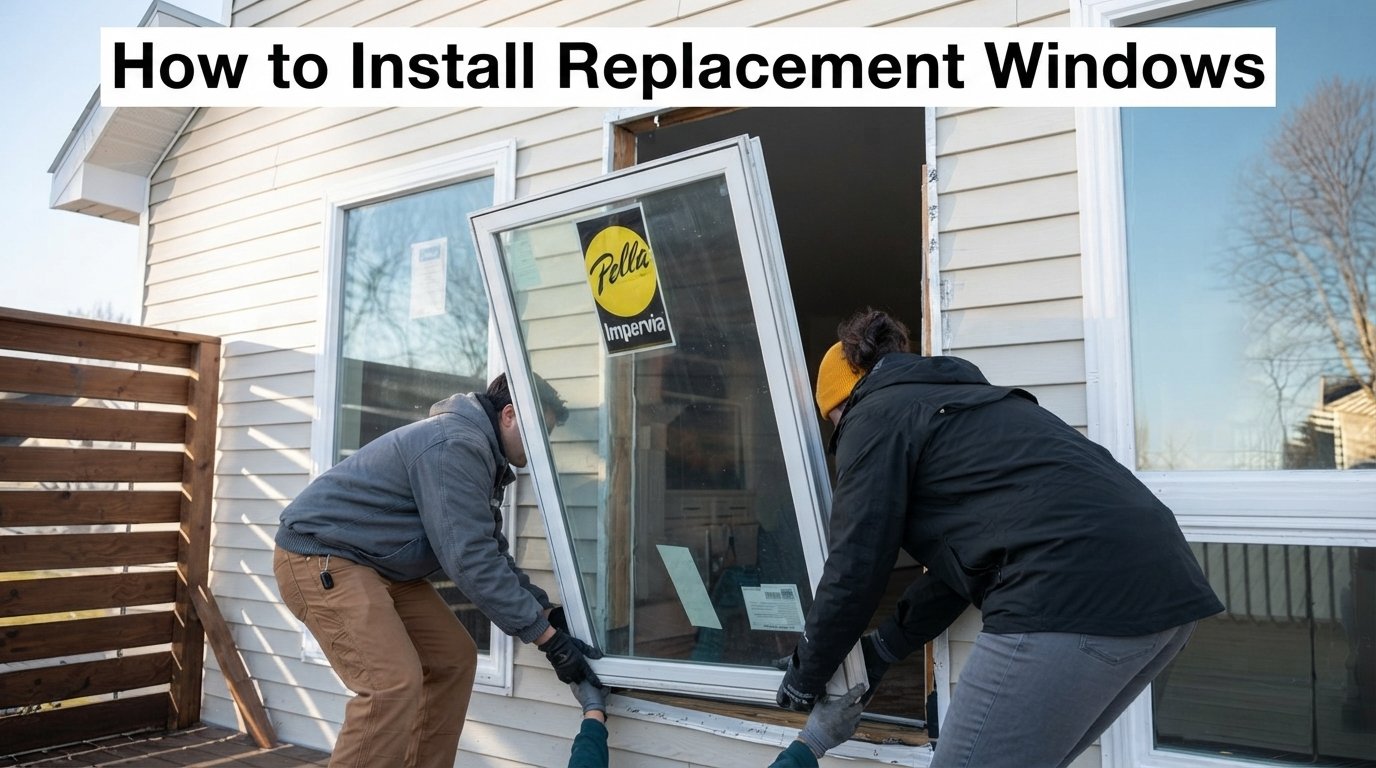
Replacing old windows can improve comfort, energy efficiency, ventilation, and the appearance of your home. However, the installation process requires careful preparation and accurate measurements.
If you want to learn how to install replacement windows, you need to understand more than just removing the old unit and placing a new one. You also need to inspect the opening, prepare the frame, position the new window correctly, and seal the surrounding areas.
This guide explains each major step so you can understand the process and make better decisions about your window replacement project.

Key Takeaways
- Accurate measurements help you choose the correct replacement window.
- Inspect the existing opening for rot, moisture, and structural damage.
- Use a level and shims to keep the window straight and properly aligned.
- Apply appropriate insulation and sealant around the window.
- Follow the manufacturer’s installation instructions throughout the project.
- Check local building codes before changing window openings or installing egress windows.
What You Need Before Installing Replacement Windows
Before you start, gather all the tools and materials you need. Having everything nearby makes the installation easier and helps prevent unnecessary delays.
You may need:
- Replacement window
- Tape measure
- Level
- Drill or screwdriver
- Appropriate screws or fasteners
- Shims
- Utility knife
- Low-expansion window and door foam
- Exterior-grade sealant
- Flashing materials
- Safety glasses and gloves
- Replacement trim if necessary
Most importantly, keep the manufacturer’s installation instructions nearby. Window designs differ, so the manufacturer may specify particular fasteners, sealants, flashing methods, and installation clearances.
Step 1: Measure the Existing Window Opening
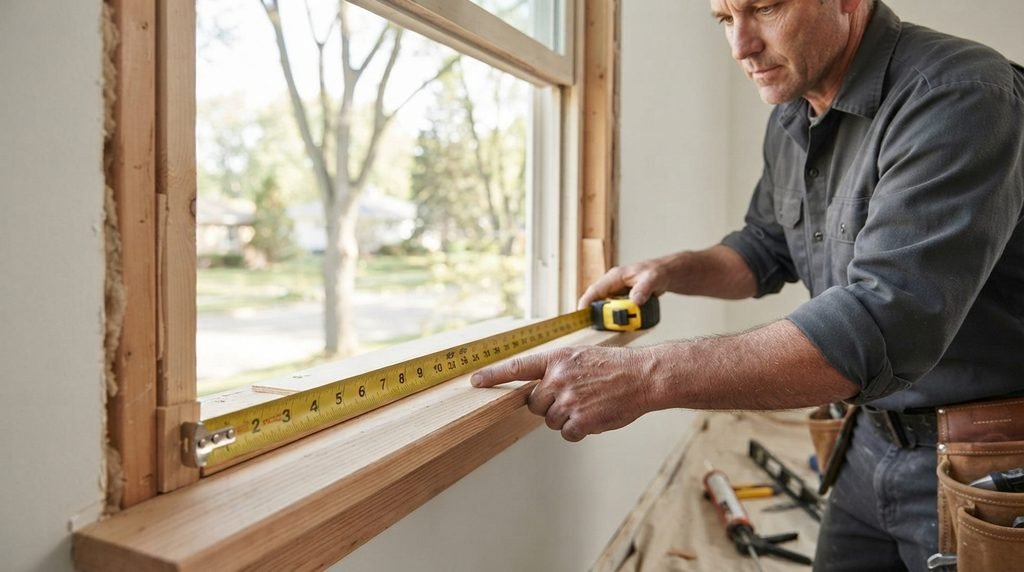
First, measure the existing window opening carefully. Take several measurements because the opening may not have perfectly consistent dimensions.
Measure the width near the top, middle, and bottom. Then measure the height on the left side, center, and right side.
Record the measurements according to the manufacturer’s sizing instructions. Also, measure the opening diagonally from corner to corner. Similar diagonal measurements usually indicate a more square opening.
Do not measure only the visible glass. Instead, determine the actual dimensions that the replacement window manufacturer requires.
Accurate measurements can prevent ordering problems and reduce the risk of ending up with a window that does not fit properly.
Step 2: Inspect the Existing Frame
Next, inspect the existing frame before removing anything.
Look for:
- Soft or rotten wood
- Water stains
- Persistent moisture
- Cracked materials
- Damaged sill areas
- Gaps around the frame
- Signs of previous water intrusion
- Structural movement
If the existing frame remains solid and dry, an insert or pocket replacement may work well.
However, serious rot, warping, or water damage may require a full-frame replacement. In that situation, removing the entire existing frame can give you better access to the damaged area.
Step 3: Prepare the Work Area
Before you begin the installation, prepare the room and surrounding area.
Move furniture away from the window. Remove curtains, blinds, decorations, and fragile items. Cover nearby flooring and furniture to protect them from dust and debris.
Also, keep children and pets away from the work area.
If the home dates from before 1978, take extra care with painted surfaces. Older paint may contain lead, and renovation work can create hazardous dust. Follow applicable lead-safe work practices before disturbing painted materials.
Step 4: Remove the Existing Window
Now remove the old window according to its design.
For example, many double-hung windows allow you to remove the movable sashes first. Other window styles may require you to remove stops, trim, hardware, or additional components.
Work carefully if you plan to keep the existing frame. Avoid unnecessary damage to the surrounding materials.
After removing the old unit, clean the opening thoroughly. Remove loose debris, old sealant, damaged insulation, and anything else that could prevent the new window from sitting correctly.
Step 5: Inspect the Opening Again
After removing the old window, inspect the opening again. You may discover damage that the old window had hidden.
Check the sill, sides, and surrounding materials for moisture or deterioration.
Look for:
- Rot
- Soft wood
- Water stains
- Cracks
- Loose materials
- Gaps
- Signs of active leaks
Repair damaged areas before you continue.
Do not install a new window over serious moisture or structural problems. Fix the underlying issue first so the new window can perform properly.
Step 6: Dry-Fit the Replacement Window
Next, place the new window into the opening without permanently fastening it.
This dry fit lets you check the size, alignment, and available clearance before you commit to the installation.
Use a level to check the window from side to side and from top to bottom. Also, check that the window sits squarely within the opening.
If the unit does not fit correctly, stop and identify the problem before applying sealant or installing fasteners.
Step 7: Apply Flashing and Sealant
Once the opening looks correct, follow the manufacturer’s instructions for flashing and sealant.
The exact method depends on the window design and the wall construction. Some installations require sill flashing or specific flashing tape, while others use an integrated installation system.
Apply the recommended sealant only where the manufacturer specifies it.
Most importantly, maintain any drainage or weep paths that allow water to escape. Never seal a drainage opening simply because it looks like a gap.
Proper water management can help protect the wall around the window from moisture damage.
Step 8: Position the Window
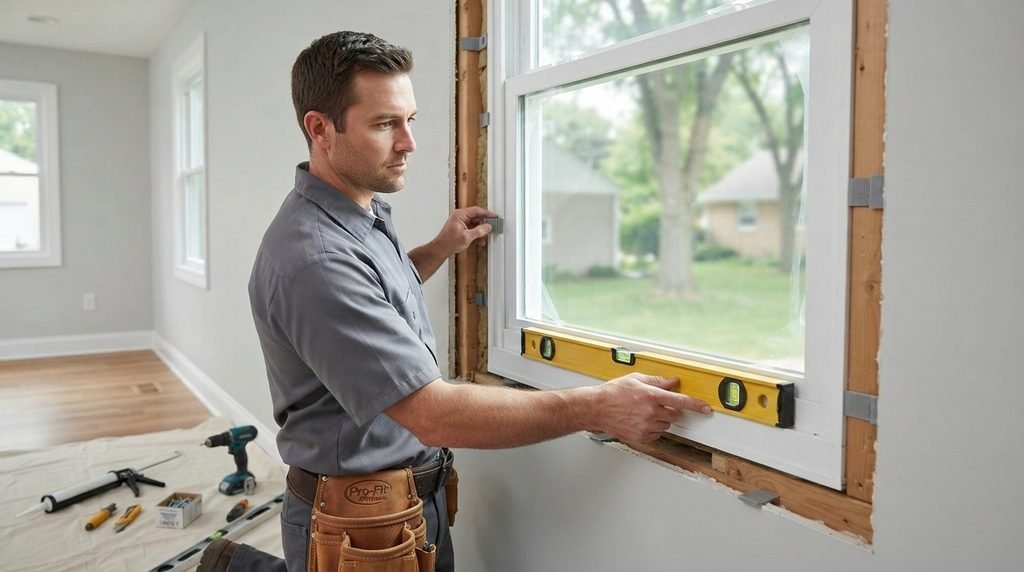
Carefully place the replacement window into the prepared opening.
Next, use shims where the manufacturer recommends them. Shims help maintain the correct position while you secure the window.
Check the unit with a level again.
Make sure the window remains:
- Level
- Plumb
- Square
- Properly aligned
- Correctly positioned
Do not force the window into the opening. Excessive pressure can distort the frame and affect how the sash operates.
Step 9: Secure the Replacement Window
Once the window sits correctly, secure it with the recommended fasteners.
Follow the manufacturer’s instructions for fastener type, location, spacing, and sequence.
Do not place screws wherever they seem convenient. Incorrect fastening can distort the frame and create operating problems.
After securing the window, open and close it several times. Make sure the sash moves smoothly and that the locks engage correctly.
If the window binds or sticks, check the alignment before moving forward.
Step 10: Insulate Around the Window
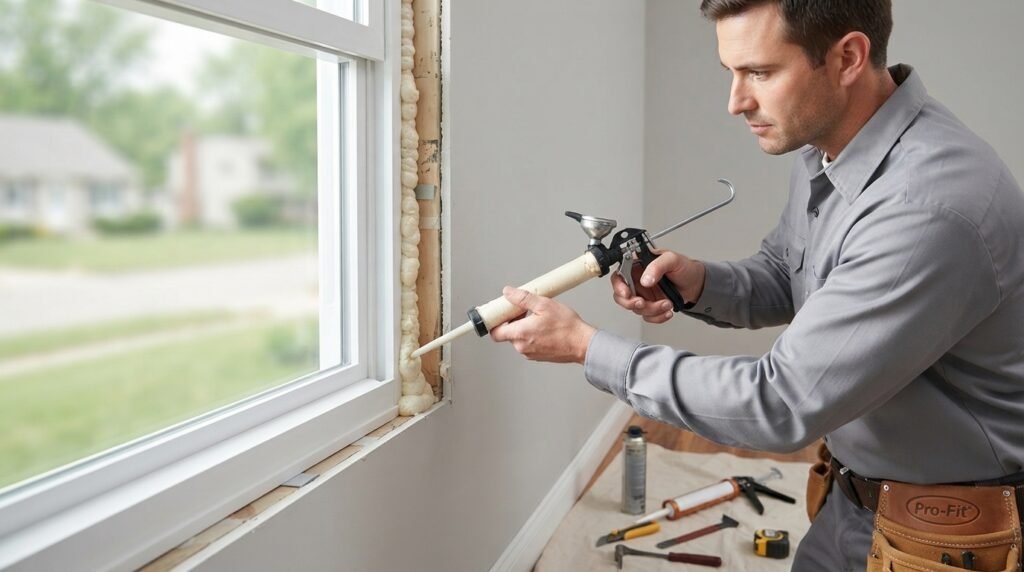
After securing the window, fill the appropriate gaps around the frame with suitable insulation.
Manufacturers commonly recommend low-expansion foam designed for windows and doors. This type of foam helps reduce air leakage without putting excessive pressure on the frame.
Apply the insulation carefully.
Avoid filling drainage paths or areas that the manufacturer needs for movement or water management.
Furthermore, do not use excessive foam. Too much expansion can push against the frame and affect window operation.
Step 11: Seal the Exterior
Next, complete the exterior sealing according to the manufacturer’s instructions.
Use an appropriate exterior sealant around the specified areas of the window. A good seal can reduce unwanted air movement and help protect the installation from weather exposure.
However, remember that sealant alone does not provide complete water protection.
Proper flashing, drainage, sill preparation, and wall integration also play important roles. Therefore, address the entire installation system rather than relying on a bead of caulk around the window.
Step 12: Reinstall Interior and Exterior Trim
Once the window installation is complete, reinstall or repair the surrounding trim.
Interior finishing may include:
- Window casing
- Extension jambs
- Stool and apron
- Paint or stain
- Minor drywall repairs
Exterior finishing may include trim, siding repairs, flashing, or other weather-resistant materials.
Before finishing everything, make sure the trim does not interfere with the window, locks, drainage openings, or moving parts.
Step 13: Test the Window
Finally, test the window several times.
Open and close the sash. Check the locks and handles. Look for unusual resistance, gaps, or movement.
Then inspect the interior and exterior perimeter.
Look for:
- Missing sealant
- Visible gaps
- Damaged flashing
- Loose trim
- Poor alignment
- Signs of water entry
If you find a problem, correct it before you finish the project.
Common Mistakes When Installing Replacement Windows
Even a quality window can perform poorly when installation mistakes occur.
Measuring Only Once
First, avoid relying on a single measurement. Take several measurements across the opening and follow the manufacturer’s sizing requirements.
Ignoring Water Damage
Next, inspect the frame and surrounding wall carefully. Installing a new window over rotten or wet materials can hide the problem instead of solving it.
Using Too Much Foam
In addition, avoid excessive expanding foam. Too much pressure can distort some window frames and affect their operation.
Skipping Flashing
Furthermore, do not skip proper flashing or water-management details. These components help direct water away from vulnerable parts of the wall.
Failing to Check Alignment
Always check the window for level, plumb, and square during installation. A poorly aligned window may stick or fail to seal correctly.
Using the Wrong Sealant
Finally, use the sealant recommended for the window and installation location. Different materials require different products.
When Should You Hire a Professional?
Some experienced homeowners can handle a straightforward replacement window project. However, certain situations require more experience and specialized knowledge.
Consider professional installation if you encounter:
- Structural damage
- Extensive wood rot
- Active water intrusion
- Large or heavy windows
- Difficult-to-access openings
- Masonry work
- Major opening modifications
- Complicated flashing requirements
- Multiple damaged windows
A professional installer can also identify problems that may remain hidden until the old window comes out.
How Long Does Replacement Window Installation Take?
Installation time varies according to the window type, size, number of windows, condition of the opening, and amount of finishing work.
A simple replacement may take much less time than a project involving damaged framing or extensive trim repairs.
Therefore, avoid rushing the installation just to finish faster. Careful preparation, accurate alignment, and proper water management matter more than saving a small amount of installation time.
How to Improve Replacement Window Performance
Choosing the right window provides only part of the solution. Proper installation also affects long-term performance.
For better results:
- Choose a window that suits your climate.
- Compare U-factor and solar heat gain ratings.
- Select glass that fits the room’s sun exposure.
- Inspect and prepare the opening properly.
- Follow the manufacturer’s installation instructions.
- Pay attention to air sealing and water management.
- Test the window before completing the trim.
- Inspect the finished installation for gaps or drainage problems.
Additionally, if you plan to replace several windows, start with the openings that cause the biggest problems. Drafty, damaged, difficult-to-operate, or moisture-prone windows often deserve priority.
Frequently Asked Questions
Can I Install Replacement Windows Myself?
Yes, an experienced DIY homeowner can install some straightforward replacement windows. However, complex openings, structural damage, water problems, and difficult flashing details can make professional installation a better choice.
Do Replacement Windows Need Insulation?
Yes, the space around the window may need insulation depending on the installation method and manufacturer’s instructions. Use an appropriate window-and-door insulation product and avoid excessive expansion.
Should Replacement Windows Be Caulked?
Many installations require sealant at specific locations. However, the exact application depends on the window design and installation system. Always follow the manufacturer’s recommendations.
How Do I Know If a Window Is Installed Correctly?
A correctly installed window should sit level, plumb, and square. It should also open, close, and lock smoothly. In addition, the installation should provide appropriate air sealing and water management.
Is Full-Frame Replacement Better Than Insert Replacement?
Neither option works best for every situation. An insert replacement can work well when the existing frame remains sound. On the other hand, a full-frame replacement may make more sense when the frame has rot, water damage, or serious deterioration.
Final Thoughts
Learning how to install replacement windows starts with accurate measurements and careful preparation. From there, inspect the opening, position the window correctly, secure it with the proper fasteners, and complete the required insulation and sealing.
Most importantly, treat the window as part of the home’s overall wall system. Proper installation helps control drafts, manage water, and maintain comfortable indoor conditions.
If you find structural damage, serious rot, active leaks, or complicated installation conditions, consider hiring a qualified professional. A careful installation can help your replacement windows perform reliably for many years.